az group create --name mi-sql-rg --location eastus
App Service Plan
1
az appservice plan create --name misqlplan --resource-group mi-sql-rg --is-linux--sku B1
App Service using system-assigned managed identity
System-assigned service principal is not supported as a SQL database user. For purpose of this scenario we will add it as an admin but please remember that it is not a best practice.
We need to setup random App Service and SQL Server name to avoid errors while provisioning resources.
We will use a custom image to test our connection.
1
2
3
4
5
az webapp create \--resource-group mi-sql-rg \--plan misqlplan \--name$appservice\--deployment-container-image-name adamkielar/mi-sql:v1.0.0
Assign system-assigned managed identity to the App service
1
az webapp identity assign --resource-group mi-sql-rg --name$appservice
AAD group with access to the SQL server
1
az ad group create --display-name MISQLADMINS --mail-nickname MISQLADMINS
Add managed identity to just created AAD group
1
2
3
principalId=$(az webapp identity show --resource-group mi-sql-rg --name$appservice--query principalId --output tsv)groupId=$(az ad group show --group MISQLADMINS --queryid--output tsv)
az ad group member add --group$groupId--member-id$principalId
SQL server with AD admin
1
2
3
4
5
6
7
az sql server create \--enable-ad-only-auth\--external-admin-principal-type Group \--external-admin-name MISQLADMINS \--external-admin-sid$groupId\--resource-group mi-sql-rg \--name$sqlserver
SQL database
1
2
3
4
5
6
7
az sql db create \--name misqldb \--server$sqlserver\--resource-group mi-sql-rg \--edition GeneralPurpose \--family Gen5 \--capacity 2
Allow Azure services and resources to access the database
1
2
3
4
5
6
az sql server firewall-rule create \--resource-group mi-sql-rg \--server$sqlserver\--name misqldb \--start-ip-address 0.0.0.0 \--end-ip-address 0.0.0.0
Add the necessary app settings like database name, SQL server name and website port
1
2
3
4
az webapp config appsettings set\--resource-group mi-sql-rg \--name$appservice\--settingsDATABASE=misqldb DBSERVER=$sqlserver.database.windows.net IDENTITY=system WEBSITES_PORT=8000
Test connection:
App Service might need a moment to start up and process request.
In the application, we are using Python SQL driver - pyodbc. When we are using system-assign identity, the database connection string looks as follows:
1
DRIVER={ODBC Driver 18 for SQL Server};SERVER=$sqlserver.database.windows.net,1433;DATABASE=misqldb;Authentication=ActiveDirectoryMSI
Delete the App service and recreate it with a user-assigned identity
In that scenario we can add service principal as a database user and grant him read and write permissions.
1
2
3
4
5
6
7
8
9
10
11
12
13
14
az webapp delete --name$appservice--resource-group mi-sql-rg
az appservice plan create --name misqlplan --resource-group mi-sql-rg --is-linux--sku B1
az webapp create \--resource-group mi-sql-rg \--plan misqlplan \--name$appservice\--deployment-container-image-name adamkielar/mi-sql:v1.0.0
az webapp config appsettings set\--resource-group mi-sql-rg \--name$appservice\--settingsDATABASE=misqldb DBSERVER=$sqlserver.database.windows.net IDENTITY=user WEBSITES_PORT=8000
Create identity
1
az identity create --name mi-sql-identity --resource-group mi-sql-rg
Assign user-assigned managed identity to the App service
We need a fully qualified resource Id of identity
1
2
3
principalId=$(az identity show --name mi-sql-identity --resource-group mi-sql-rg --queryid--output tsv)
az webapp identity assign --resource-group mi-sql-rg --name$appservice--identities$principalId
Add UID appsetting which contains clientId of created identity
1
2
3
clientId=$(az identity show --name mi-sql-identity --resource-group mi-sql-rg --query clientId --output tsv)
az webapp config appsettings set--resource-group mi-sql-rg --name$appservice--settingsUID=$clientId
Add user to MISQLADMINS group
This user will have admin rights. Check documentation for possible options. You can add your current user. User id will be your email address.
1
userId=$(az ad user show --id <user id>--queryid-o tsv)
1
2
groupId=$(az ad group show --group MISQLADMINS --queryid--output tsv)
az ad group member add --group$groupId--member-id$userId
Add AAD-base database user with read and write permissions.
Invoke-SqlCmd-ServerInstance"$sqlserver"`
-Database"misqldb"`
-AccessToken"$token"`
-Query"CREATE USER [mi-sql-identity] FROM EXTERNAL PROVIDER;"
Add read and write permissions to our user
1
2
3
4
Invoke-SqlCmd-ServerInstance"$sqlserver"`
-Database"misqldb"`
-AccessToken"$token"`
-Query"ALTER ROLE db_datareader ADD MEMBER [mi-sql-identity]; ALTER ROLE db_datawriter ADD MEMBER [mi-sql-identity]"
Now we can test our connection as before.
When we are using user-assign identity, the database connection string looks as follows:
1
DRIVER={ODBC Driver 18 for SQL Server};SERVER=$sqlserver.database.windows.net,1433;DATABASE=misqldb;UID=<clientId>;Authentication=ActiveDirectoryMSI
Delete a resource group to clean up our environment
1
az group delete --resource-group mi-sql-rg
Create resources using Azure Bicep.
Create a resource group in the subscription scope
1
az deployment sub create --location eastus --name misql-001 -f resource-group.bicep
Create Identity, App service with plan and app settings
1
az deployment group create --name misql-002 --resource-group mi-sql-rg -f appservice.bicep
Azure Bicep as of the time of writing does not support CRUD operations on MS Graph resources. We can bypass that problem using the deployment script but we will skip that step in this post and we will create AAD group and add user (for example user that we use for logging to Azure account) to that group, using Azure CLI as before. We can also create database user using Azure Cloud Shell as before.
Create SQL server, database and firewall rule
When we run below command we have to provide two parameters for this deployment, sqlServerName(we can get it from output of last deployment) and groupId(check description in sql.bicep).
1
az deployment group create --name misql-003 --resource-group mi-sql-rg -f sql.bicep
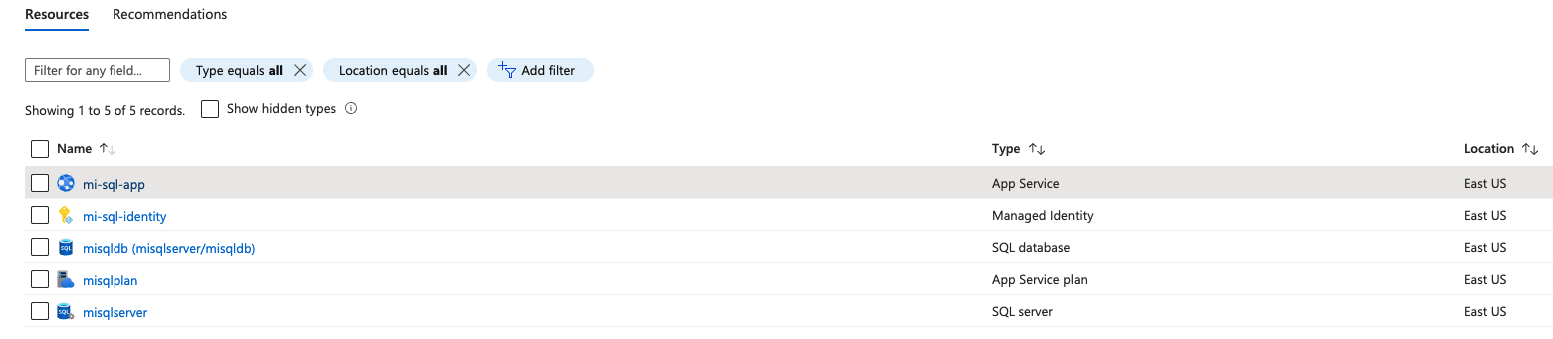
Confirm in Azure portal if resources are created
Now we can curl the App Service endpoint and confirm the database connection.